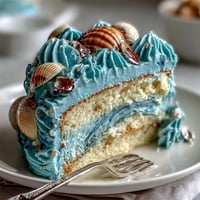
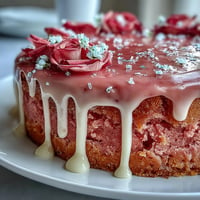
 Save to Pinterest
 The first time I made this Rosé Velvet Cake, I was elbow-deep in flour, humming along to my favorite playlist with rosé poured not just for the cake, but for myself as well. The way the soft, floral aroma from the wine mingled with vanilla in my kitchen felt almost celebratory, even on an ordinary afternoon. Sometimes, dishes surprise you with how gracefully they come together, colors and scents swirling into elegance. I watched the batter blush a perfect rose-pink, grateful I'd trusted my instinct with the food coloring. There&39;s something undeniably joyful about baking a cake that looks and tastes as special as a milestone moment deserves.
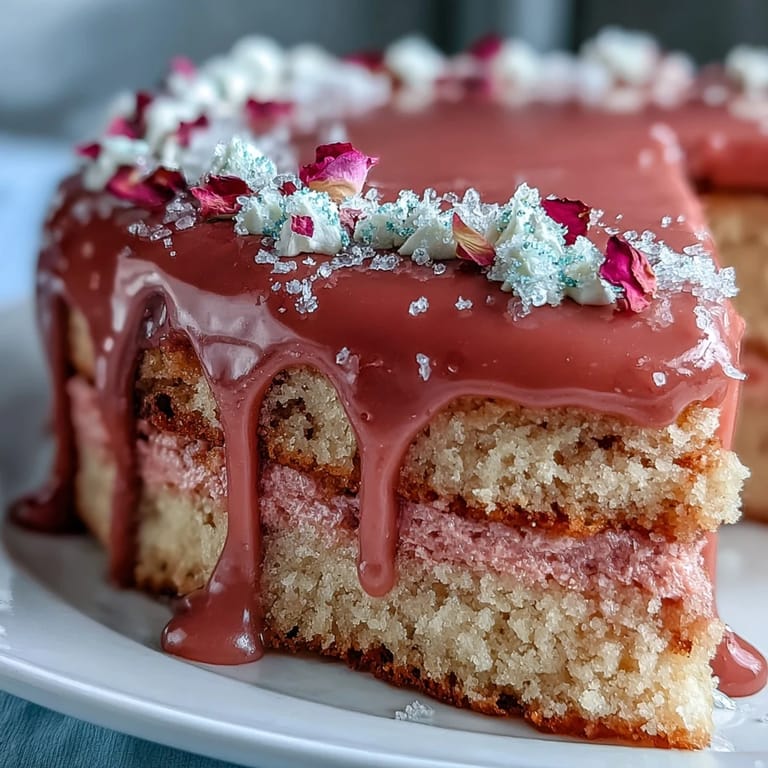
One spring afternoon, I brought this cake to my friend&39;s bridal shower and watched as a room full of laughter paused mid-story just to admire it. The delight on everyone&39;s faces when we cut through those soft, rosy layers and gold shimmer is something I still smile about. Among the flowers and happy chaos, it was the cake that managed to create a hush of genuine awe. People leaned in, eager to know how the color and flavor were so spot on. I guess there&39;s nothing quite like seeing your creation become part of a lasting memory for someone you care about.
Ingredients
- All-purpose flour: Sifting this helps the cake stay light; I used to skip this, but the extra step truly pays off in texture.
- Granulated sugar: I find that a fine-grain sugar dissolves more seamlessly into the batter for a tender crumb.
- Baking soda: This brings lift to each layer; always double check your box isn&39;t past date.
- Fine salt: A tiny bit really makes those flavors pop—don&39;t overlook it.
- Unsweetened cocoa powder: Just enough for depth, not chocolate flavor; sift well to avoid lumps.
- Vegetable oil: Guarantees moisture and softness; be sure to measure—too much can make the cake greasy.
- Eggs (room temperature): Bring these out early for better mixing and a fluffier batter.
- Buttermilk (room temperature): This is the secret to that slight tang and moist crumb; real buttermilk makes a difference!
- Rosé wine: Choose one you enjoy drinking—a dry or sparkling variety gives the cake a floral, grown-up touch.
- Vanilla extract: Opt for pure extract—life&39;s too short for artificial vanilla.
- White vinegar: Just a splash helps deliver bright color and a subtle lift.
- Pink or rose food coloring: Gel colors give the boldest hue without thinning the batter; start small, it goes further than you think.
- Unsalted butter (room temperature): Beat until fluffy for a truly cloud-like buttercream.
- Powdered sugar (sifted): Sifting avoids clumps and keeps the frosting silky smooth.
- Rosé wine (for buttercream): Lends perfume and a gentle blush; add it slowly to balance flavor and texture.
- Edible gold luster dust: It gives that show-stopping gold drip—never use non-edible dusts, trust me on this!
- White chocolate chips: Melting low and slow prevents graininess in the drip.
- Heavy cream: Makes the drip just glossy enough to set beautifully over the buttercream.
- Vodka or clear lemon extract: These evaporate quickly when mixing gold paint, so your shimmer won&39;t smear.
Tired of Takeout? 🥡
Get 10 meals you can make faster than delivery arrives. Seriously.
One email. No spam. Unsubscribe anytime.
Instructions
- Prep the pans and oven:
- Preheat oven to 350°F (175°C). Grease and line three 8-inch pans so the cakes release easily—parchment rounds have saved me many times!
- Combine dry ingredients:
- In a large bowl, sift flour, sugar, baking soda, salt, and cocoa powder. The kitchen always smells toasty sweet when cocoa hits the bowl first.
- Mix wet ingredients:
- Whisk oil, eggs, buttermilk, rosé, vanilla, and vinegar in a separate bowl until glossy. The ingredients should come together without streaks or lumps for that signature velvet texture.
- Blend and tint batter:
- Fold wet into dry gently—overbeating will make the cake dense. Swirl in food coloring until you reach your favorite shade of pink; the transformation is oddly satisfying!
- Bake:
- Divide evenly between pans and bake for 30-35 minutes. Your kitchen will fill with a warm, cake-shop aroma; check if a toothpick comes out clean before removing.
- Cool:
- Let cakes rest 10 minutes in pans before gently loosening sides and turning out on a rack; rushing can lead to crumbling.
- Make rosé buttercream:
- Beat butter until fluffy, then add powdered sugar gradually. Drizzle in rosé, vanilla, and salt, beating until dreamy and light—the frosting should be soft, but not runny.
- Assemble and crumb coat:
- Level cakes if needed, then layer generously with buttercream. Apply a thin crumb coat all around and chill so the final coating glides on without stray crumbs.
- Final frosting layer:
- Spread a second, smooth layer all over, using an offset spatula for those crisp edges. Another short chill helps you prep the gold drip without melting the frosting.
- Prepare gold drip:
- Melt white chocolate chips and cream together, letting it cool so it&39;s thick but pourable. Paint on edible gold once the drip sets for maximum sparkle without smears.
- Decorate:
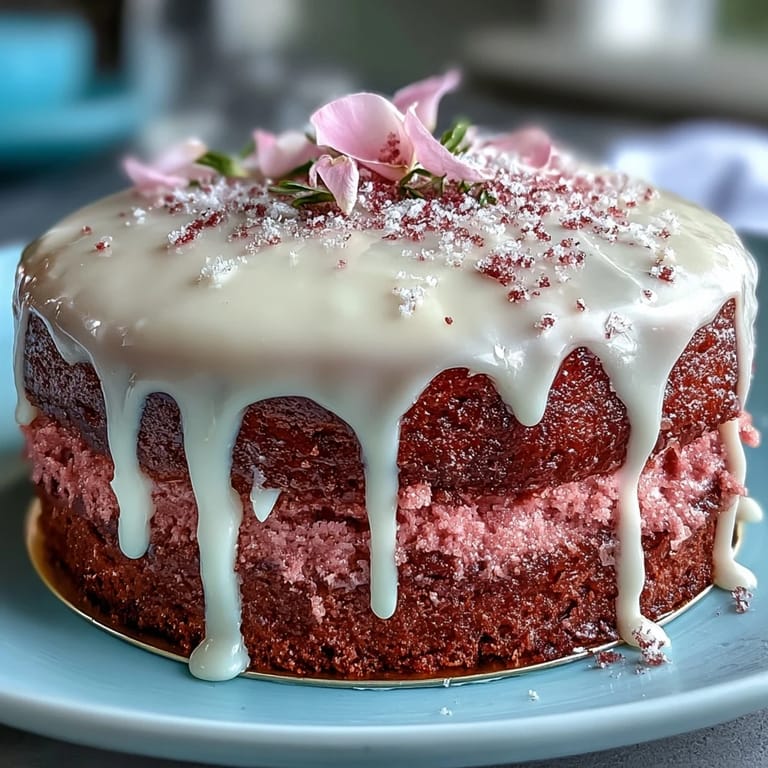
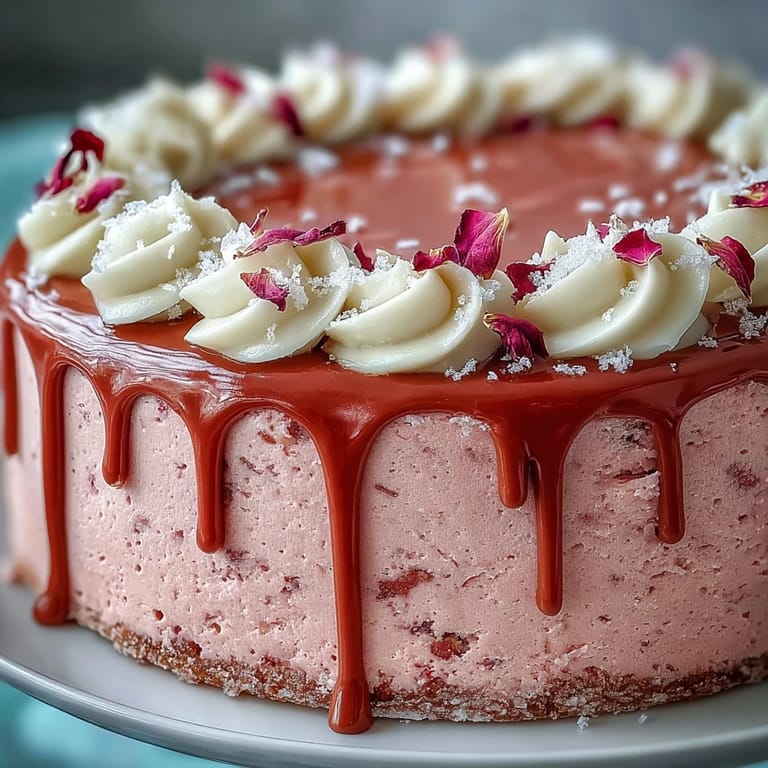
- Use a small pastry brush to apply gold shimmer, and add rose petals or berries for the finishing touch. This last bit is when everything feels party-ready.
 Save to Pinterest
 After the last slice disappeared at a bridal brunch, a little circle of friends huddled close just to ask for the recipe—my heart did a quiet leap. Sharing that cake felt like handing over a piece of a special day, complete with gold dust on my own elbows and laughter echoing in my memory.
Getting the Rosé Just Right
I once grabbed a sweet rosé by accident, and the cake ended up far too sugary for my taste. In my experience, a dry or even sparkling rosé keeps the flavor balanced and prevents the buttercream from tasting cloying. Shop with tasting notes in mind—fruity but dry varieties bring out the best in both cake and frosting. If you&39;re unsure, a quick kitchen sip as you bake turns the process into a mini celebration. Experimentation led me to my favorite version, so don&39;t be afraid to play a bit yourself.
Chilling and Assembling Tips
It’s tempting to rush, but letting your cake layers cool completely is what guarantees clean slices and a sturdy structure. If you have the time, chill them in the fridge for 30 minutes before assembling—this trick saved me when a heat wave hit during my test bake. I learned the hard way that warm cake and buttercream are a recipe for sliding layers. Even just 20 minutes in the fridge sets the crumb coat beautifully. Take a breath, chill the layers, and your decorating will feel less frantic.
The Gold Drip Gamechanger
Getting the perfect gold drip took me a few tries—sometimes it was too hot and slid right off, other times it set too quickly to spread. The sweet spot is a drip that feels just thicker than honey and is cool to the touch, but still pourable. If you&39;ve never painted with luster dust before, test on a parchment scrap for confidence. When adding edible decorations, remember less is often more to let the gold shine.
- Keep a small offset spatula nearby for quick fixes.
- Wipe your brush with a paper towel after every few strokes.
- Let the gold drip fully set before moving or boxing the cake.
 Save to Pinterest
 There&39;s a quiet thrill in unveiling a cake that dazzles both eyes and palate. Here&39;s hoping this Rosé Velvet Cake makes your celebration shimmer in every way.
Recipe FAQs
- → Which rosé works best?
Choose a dry or lightly sparkling rosé with floral or stone-fruit notes; it adds aroma without adding too much sweetness. Avoid heavily oaked or tannic bottles.
- → How do I prevent a soggy crumb when adding rosé?
Use measured amounts: incorporate rosé into both batter and buttercream in place of part of the liquid, and rely on buttermilk and oil for structure. Bake fully and cool completely before layering.
- → How do I make a stable rosé buttercream?
Beat room-temperature butter until light, add sifted powdered sugar gradually, then whisk in rosé and a pinch of salt. Chill briefly if it becomes too soft and rewhip before assembling.
- → What’s the best way to get a neat gold drip?
Melt white chocolate with cream and cool slightly so it’s pourable but not hot. Test drip on a chilled cake edge, then allow drips to set. Paint with edible gold luster mixed with a small amount of vodka or clear lemon extract for shine.
- → Can I make layers ahead of time?
Yes—bake layers a day ahead, wrap tightly and refrigerate. Assemble and decorate after bringing to room temperature; chilling between crumb coat and final icing helps with clean edges.
- → Any tips for decorating and serving?
Use an offset spatula and turntable for smooth frosting, chill between coats, and add edible rose petals or berries as accents. Bring to room temperature before serving for best texture.