 Save to Pinterest
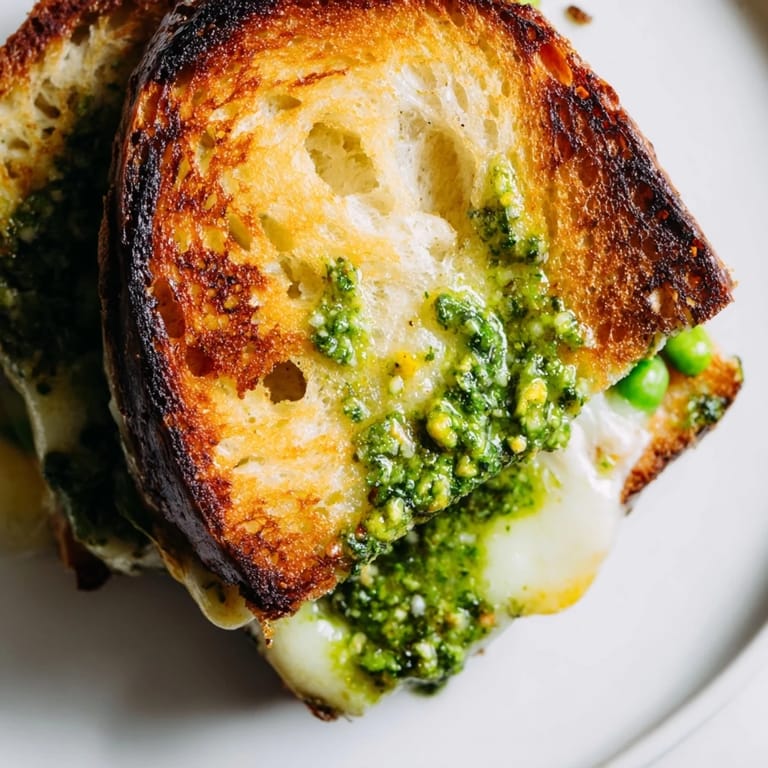
 The farmers market had these impossibly sweet peas last weekend, the kind that snap when you break them open. I bought way too many and found myself wondering what to do with them all. That's when I remembered a tiny cafe in London that served a pea pesto sandwich I couldn't stop thinking about. I decided to recreate it at home, and honestly, it might have been even better.
My sister was visiting during that first experimental phase, and we ended up making three batches in one weekend. She kept saying we needed to taste test one more time, you understand. We ate them standing up in the kitchen, windows open, letting spring air drift in while cheese stretched between our fingers. Now every time she visits, this is what she requests.
Ingredients
- Fresh or thawed frozen peas: They don't need to be cooked first, just blanched quickly if you want them ultra tender
- Fresh basil leaves: Look for bright green leaves with no brown spots, they carry the whole aromatic profile
- Small garlic clove: One clove goes a long way here since it's raw and we want that subtle warmth
- Grated Parmesan cheese: Use the good stuff if you can, it brings that salty depth that balances the sweet peas
- Toasted pine nuts: Toasting them beforehand makes such a difference in bringing out their buttery flavor
- Extra-virgin olive oil: This is what brings everything together into a spreadable consistency
- Lemon zest and juice: The zest adds brightness while the juice cuts through the rich cheese and nuts
- Salt and pepper: Taste as you go since the Parmesan already brings quite a bit of salt
- Sourdough bread: Sturdy enough to hold everything together and gets beautifully crisp
- Unsalted butter: Softened to room temperature makes spreading so much easier
- Shredded mozzarella cheese: Fresh mozzarella works too but shredded melts more evenly
- Baby arugula or spinach: Totally optional but adds a nice peppery contrast to the sweet pesto
Tired of Takeout? 🥡
Get 10 meals you can make faster than delivery arrives. Seriously.
One email. No spam. Unsubscribe anytime.
Instructions
- Make the Spring Pea Pesto:
- Toss everything into your food processor and pulse until you get a mostly smooth mixture with just a little texture remaining. Give it a taste and add more salt or lemon juice if it needs a little something to pop.
- Assemble Your Sandwiches:
- Spread butter on one side of each bread slice, then place two slices buttered side down. Slather them with that gorgeous green pesto, pile on the mozzarella, add some arugula if you're feeling fancy, and top with the remaining bread slices, buttered side up.
- Grill to Golden Perfection:
- Heat your skillet over medium heat and carefully place the sandwiches inside. Let them cook for about four minutes on each side, pressing down gently with your spatula, until they're deeply golden and you can see the cheese starting to ooze out the sides.
- Slice and Serve Warm:
- Cut them diagonally, because sandwiches always taste better that way, and serve while they're still hot and melty.
 Save to Pinterest
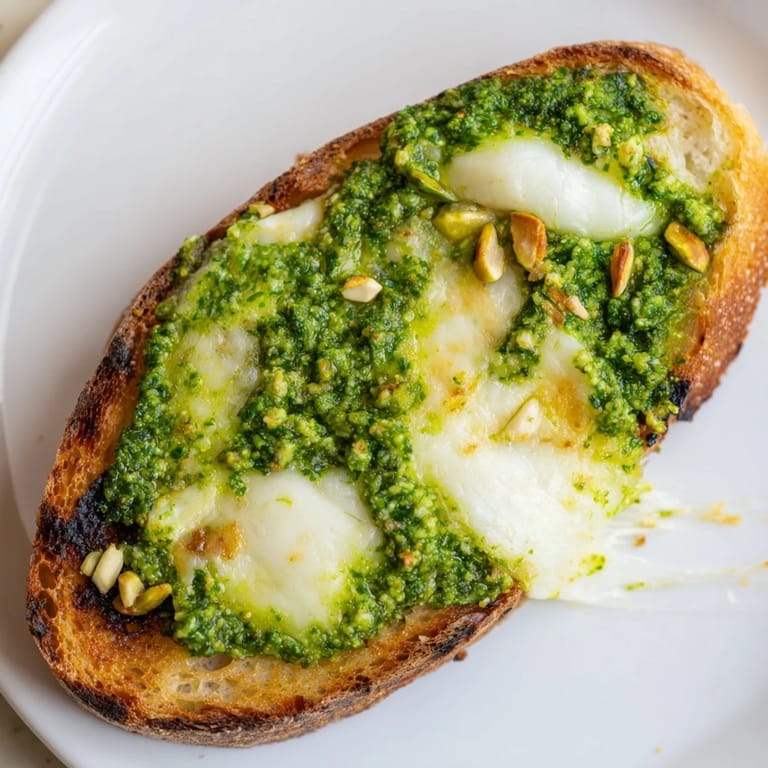
 Last spring I made these for a picnic and my friend actually stopped walking mid-sentence after her first bite. That's the moment I knew this wasn't just a sandwich, it was the kind of thing people remember eating.
Make It Your Own
Sometimes I skip the pine nuts and use sunflower seeds instead, which gives a lovely subtle nuttiness without the price tag. Whole wheat bread works beautifully too and adds a nice nutritional boost. If you like heat, a pinch of red pepper flakes in the pesto transforms it into something entirely different.
Perfect Pairings
These sandwiches practically beg for a crisp white wine, something acidic like Sauvignon Blanc to cut through all that rich cheese. A simple green salad with lemon vinaigrette on the side feels right, and tomato soup never hurt anyone either. For drinks, sparkling water with plenty of ice and a lemon wedge keeps things light and refreshing.
Storage and Make-Ahead Tips
The pesto keeps beautifully in an airtight container for about a week, though the bright green color might fade slightly. Just stir it before using and it still tastes fantastic. You can freeze extra pesto in ice cube trays, then transfer the frozen cubes to a freezer bag for easy portions later.
- Assemble sandwiches right before cooking so the bread doesn't get soggy
- If you're making these for a crowd, keep finished ones in a warm oven while you grill the rest
- Leftover cooked sandwiches reheat surprisingly well in a toaster oven
 Save to Pinterest
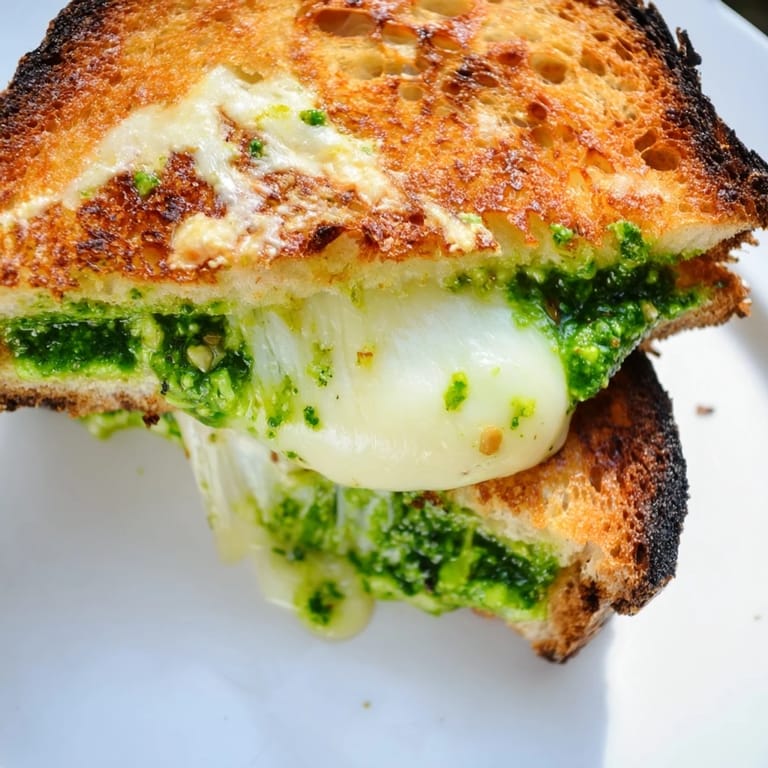
 There's something so comforting about transforming simple ingredients into something that feels like a special occasion. Hope this brightens up your spring kitchen days.
Recipe FAQs
- → Can I make the pesto ahead of time?
Yes, the spring pea pesto can be made up to 2 days in advance. Store it in an airtight container in the refrigerator. If the surface darkens slightly, simply stir it before using.
- → What cheese works best for this sandwich?
Shredded mozzarella melts beautifully and creates nice pockets of creaminess. Fresh mozzarella slices also work wonderfully for a slightly tangier result. You can even mix in a bit of Gruyère or fontina for deeper flavor.
- → How do I prevent the bread from burning while the cheese melts?
Use medium heat rather than high heat, and keep the pan temperature consistent. You can also cover the skillet with a lid during cooking to help the cheese melt faster without over-browning the bread.
- → Can I use frozen peas for the pesto?
Absolutely. Thawed frozen peas work just as well as fresh peas and often have excellent flavor. Simply thaw them completely and pat dry before adding to the food processor.
- → Is this suitable for a nut-free diet?
Yes, simply replace the pine nuts with sunflower seeds or omit them entirely for a lighter pesto. Both options maintain the richness and texture of the pesto without tree nuts.
- → What bread alternatives work best?
While sourdough provides excellent flavor and structure, you can use whole wheat, ciabatta, or gluten-free bread. Choose varieties with enough structure to hold the melted cheese and pesto without falling apart.