 Save to Pinterest
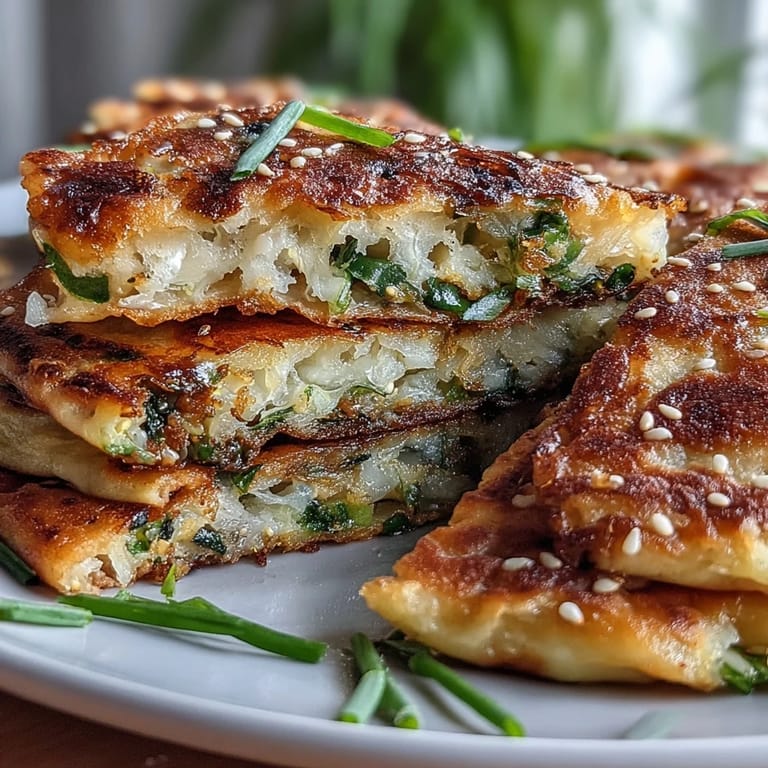
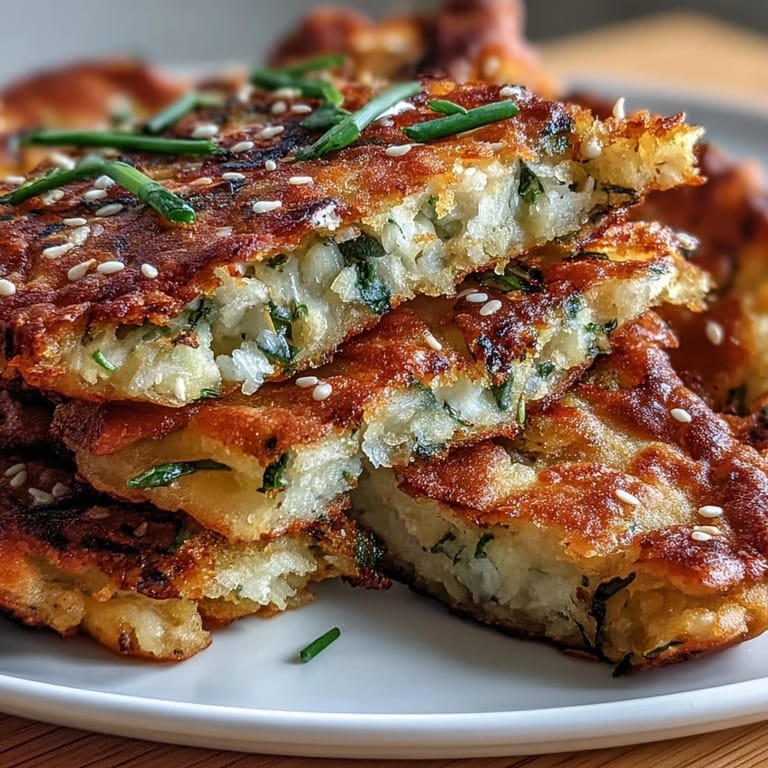
 The sound of sizzling batter was the first thing that drew me toward a little street cart in Chengdu one spring evening. What I found was a stack of fragrant, blistered pancakes, steam curling from each flaky layer. My first bite was sharp with scallion and surprisingly light, and I knew I had to try making them at home—even if my kitchen would never echo with quite the same lively noise.
Last summer, I made these pancakes on a muggy afternoon with my cousin, scattering flour everywhere as we tried to outdo each other rolling perfectly thin rectangles. Our dough wasn’t exactly uniform, but the laughter and the mess made it taste all the better.
Ingredients
- All-purpose flour: Go for a standard flour—nothing fancy needed—and sift it first if you want a smoother dough.
- Boiling water: The high temp is key to creating dough that is both flexible and soft, so don’t shy away from the steam.
- Cold water: Adding cold water after the hot gives just the right texture—don’t skip this step even if it seems odd at first.
- Salt: Divided between the dough and the filling, salt sharpens the flavor and helps the onions shine.
- Spring onions (scallions): Chop them fine for even distribution—you want every bite to pop.
- White pepper (optional): A subtle heat and slight floral note if you have it—totally your call.
- Vegetable oil: For brushing and frying; a neutral oil is best to let the scallions do the heavy lifting in flavor.
Tired of Takeout? 🥡
Get 10 meals you can make faster than delivery arrives. Seriously.
One email. No spam. Unsubscribe anytime.
Instructions
- Make the Dough:
- Mix your flour and salt in a big bowl, then pour in boiling water while stirring with chopsticks. It’ll look rough at first, but once you add the cold water and knead, the dough transforms into something springy and smooth—let it rest under a damp cloth for 20 minutes to relax.
- Divide and Shape:
- Cut the rested dough into four equal pieces and shape into balls. This will help you roll even pancakes and keep things manageable.
- Roll and Fill:
- Flatten a ball into a super-thin rectangle—aim for about 1/8 inch. Brush a whisper of oil all over, sprinkle salt and a good handful of spring onions, then roll up tightly into a jelly roll.
- Spiral and Flatten:
- Take the roll and coil it like a snail, tucking the end underneath. Press the spiral gently, then roll out into a 6-inch disc; repeat for the others.
- Fry to Crisp:
- Heat oil in a nonstick skillet and lay in your pancake; listen for that gentle sizzle. Fry each side until golden and irresistibly crispy, about 2–3 minutes per side—add more oil as you go if the pan looks dry.
- Slice and Serve:
- Let the cooked pancakes rest briefly on paper towels before cutting into wedges, then serve while hot. Dunking them into soy or chili oil is a must for that street food vibe.
 Save to Pinterest
 There was a storm one evening as I pulled the last pancake from the pan, and the cozy kitchen warmth made eating them at the counter feel extra comforting. For a few minutes, the simplest snack became the heart of our home—a light meal, a conversation starter, and a packet of crackly joy.
Bringing in Extra Flavor
Once I started tinkering, I found that adding a pinch of white pepper or a handful of toasted sesame seeds gave the pancakes even more dimension. Sometimes I slip in minced garlic or a dash of chili flakes, depending on my mood and what’s in the pantry.
Choosing the Right Pan
A good nonstick skillet really makes a difference here—the pancakes release without fuss and crisp up evenly. Heavy-bottomed pans also hold heat better, so the color is spot-on every time.
Serving Suggestions and Finishing Touches
Spring onion pancakes are endlessly snackable on their own, but I sometimes cut them into thin strips and toss with a drizzle of chili oil and a scatter of sesame. Set out some dipping sauces in little bowls for dipping, and you’ll have an appetizer that disappears faster than expected.
- Don’t be afraid to customize the flavoring in the filling to suit your mood.
- Leftover pancakes reheat well in a dry skillet for that elusive re-crisp.
- Brush off any excess oil before serving for a tidier bite.
 Save to Pinterest
 However you tweak and share them, these spring onion pancakes tend to disappear long before the last story is told. There’s always a reason to make another batch.
Recipe FAQs
- → How do I get extra flaky layers?
Brush each rolled sheet generously with oil before rolling and coiling. Thin rolling, tight rolling, then coiling into a spiral creates distinct layers. Resting the dough 20 minutes relaxes gluten and helps rollability.
- → Can I prepare the dough ahead of time?
Yes. After kneading and resting, wrap the dough tightly and refrigerate up to 24 hours. Bring to room temperature before rolling to make shaping easier.
- → Which pan and heat level work best?
Use a nonstick or well-seasoned cast-iron skillet on medium heat. Too hot will burn the exterior before layers cook; too cool yields greasy, undercooked pancakes. Add a couple tablespoons of oil and adjust per pancake.
- → How should I store and reheat leftovers?
Store cooled pancakes in an airtight container in the refrigerator for 1–2 days. Reheat in a skillet over medium heat to restore crispness, or warm in a hot oven on a rack for several minutes.
- → Any tips for allergen or flour substitutions?
These use wheat flour for elasticity. For gluten-free attempts, try a gluten-free all-purpose blend with a binder like xanthan gum, but expect a different texture and less chew. Always check labels for cross-contamination.
- → What simple variations work well with the filling?
Add finely chopped garlic or sesame seeds to the scallions, a few drops of toasted sesame oil for aroma, or a pinch of white pepper. For a heartier snack, include finely shredded cabbage or grated cheese sparingly.