 Save to Pinterest
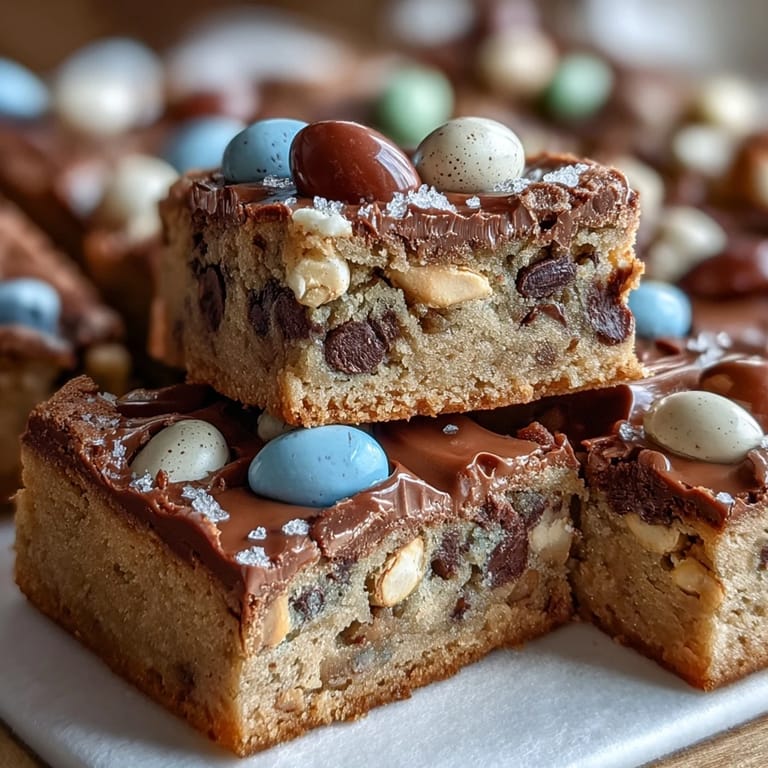
 The first time bright pastel Easter egg candies hit my kitchen counter, I wasn’t planning on baking. It was a busy weekday afternoon and the sound of their rattling in the glass jar was too cheerful to ignore. I decided, almost on a whim, to let them inspire a batch of peanut butter cookie bars—and the sweet, nutty scent that filled the air convinced me I was onto something. Making these bars always feels like capturing a bit of spring, no matter what the calendar says. There’s something special about the crunch of colorful eggs on a chewy cookie base that makes the whole process playful.
I once made these for a friend’s spring potluck, and the pan was nearly empty before dessert was officially served. Everyone gathered around the kitchen, picking favorite colors from the topping and sharing quick stories about holiday baking traditions. Even the simplest bars can sparkle when there’s laughter involved and fingers reaching for seconds. These cookie bars always start those conversations. Each year I find new reasons to bake them, not just for Easter but for any moment that calls for a burst of color.
Ingredients
- Unsalted butter: Melting the butter gives the bars a dense, chewy texture—let it cool just enough so the eggs don’t scramble.
- Creamy peanut butter: This is what gives every bite a deep, nutty richness; smooth peanut butter blends without lumps.
- Light brown sugar: Packed brown sugar adds caramel undertones and helps with moisture.
- Granulated sugar: Balances the richness and helps the edges crisp up beautifully.
- Eggs: Room temperature eggs blend in easily and ensure the dough is silky.
- Vanilla extract: Just a teaspoon amplifies the peanut butter and chocolate flavors in the bars.
- All-purpose flour: Measuring accurately avoids dry bars—a gentle scoop and level is best.
- Baking powder: Provides lift, keeping the bars pleasantly thick.
- Baking soda: Balances with baking powder for a softer crumb.
- Salt: Just a pinch brings out all the flavors.
- Easter egg chocolate candies: These add fun color and crunch—press a few extra on top before baking for a picture-perfect finish.
- Semi-sweet chocolate chips (optional): For extra pockets of melted chocolate, toss these in, especially if you’re a chocolate fan.
Tired of Takeout? 🥡
Get 10 meals you can make faster than delivery arrives. Seriously.
One email. No spam. Unsubscribe anytime.
Instructions
- Prepare the Pan:
- Line your 9x9-inch baking pan with parchment, letting the paper overhang so lifting the bars later is a breeze. You’ll hear the crackle as you press the parchment into the corners–it’s a good sign.
- Mix the Wet Ingredients:
- Whisk together the melted butter and peanut butter until smooth, then add in sugars and keep whisking until you see a creamy texture and the sugars dissolve.
- Add Eggs and Vanilla:
- Drop in the eggs and vanilla, whisk again; the dough will go glossy and light, and that’s your cue.
- Combine the Dry Ingredients:
- In a separate bowl, whisk together flour, baking powder, baking soda, and salt; it’s easier than you think and keeps the bars airy.
- Fold Wet and Dry Together:
- With a spatula, fold the dry mix gently into the wet until just combined—too much mixing and the bars get tough.
- Add Mix-Ins:
- Gently fold in Easter egg candies and chocolate chips, if using; pause to admire the swirl of colors before moving on.
- Spread Dough and Decorate:
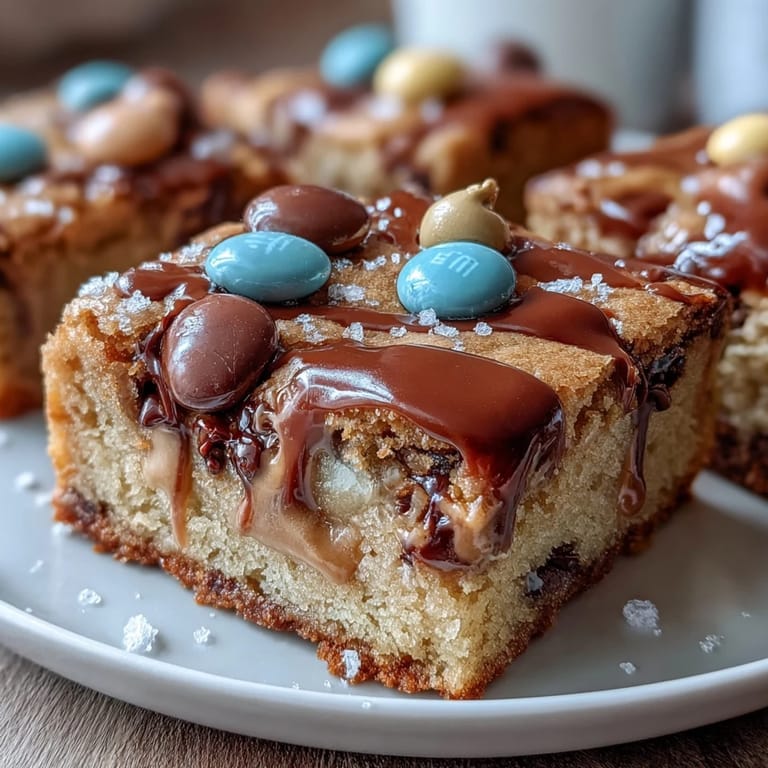
- Scoop the dough into your pan, smoothing the top; press extra Easter egg candies in for the prettiest finish.
- Bake:
- Slide the pan into the oven for about 22-25 minutes—watch for golden edges and a soft center (it’ll firm up as it cools).
- Cool and Serve:
- Let the bars cool completely in the pan, then use the parchment to lift them out; slicing gives perfect squares for sharing.
 Save to Pinterest
 After making these bars for my nephew’s birthday, I watched him carefully select each piece by candy color—it turned dessert into a game. That day, what began as a simple treat became the centerpiece of our celebration, creating smiles even among grown-ups. Sometimes the most memorable dishes are the ones that let people play.
Putting Your Own Spin on It
One afternoon I experimented by swapping in almond butter and regular chocolate candies, and the bars turned out every bit as chewy and delicious. Don’t hesitate to use whatever festive or favorite candies you have tucked in the pantry. It always surprises me how forgiving and versatile this recipe is when you’re feeling creative.
Simple Storage Tricks
Store these bars in an airtight container at room temperature for up to four days—the flavors mellow overnight and the centers stay soft. If you want them firmer, pop them in the fridge; they’re equally delicious chilled.
Extra Ideas for Serving
These bars are wonderful for gifting; just slice, wrap in parchment, and tied with a pastel ribbon. They work equally well in lunchboxes or as quick party snacks, so you never need a special occasion. Try drizzling melted peanut butter over the top for extra flavor and flair.
- Bar cookies make for easy, mess-free sharing at picnics.
- Vary the candies for holidays beyond Easter—Halloween and Christmas versions are fun.
- If you’re short on parchment, grease the pan well for clean bar release.
 Save to Pinterest
 This recipe is a joyful break from routine and always draws people in. However you serve them, be ready for requests to make them again.
Recipe FAQs
- → Can I use natural peanut butter?
Natural peanut butter may alter the texture, making bars less chewy. Creamy, processed peanut butter is recommended for best results.
- → How do I prevent the bars from drying out?
Bake until just set and cool completely. Store bars in an airtight container to retain moisture and softness.
- → Can I substitute the Easter egg candies?
Yes, regular chocolate candies or chips work well for non-seasonal treats. Adjust to your preference.
- → Are these bars suitable for vegetarians?
Yes, all ingredients are vegetarian-friendly. Check chocolate candies and chips for hidden animal-derived ingredients.
- → How should I store the bars?
Keep bars in an airtight container at room temperature for up to four days. Freeze for longer storage if desired.
- → Can I drizzle extra peanut butter on top?
Yes, for richer flavor, drizzle melted peanut butter over cooled bars before serving.